
How Long Do Vape Coils Last? Learn When You Need Replace Your Coil
In a perfect world, our vape coils would last forever. However in reality, with your daily vaping, the constant heating, and occasional drops, your vape coil will eventually burn out and need replacing.
Knowing when to replace your vaporizer coil ultimately comes down to how often you vape. On average, a frequent vaper will need to change their equipment once a week, while an occasional vaper may go for up to four weeks or so before needing to change their coil.
All of this also depends on your personal preferences, for example how fresh you want each vaping session to be, or how particular you are about the quality of your vape.
If you keep your coils clean and fresh, you'll be able to fully appreciate the flavors and nuances of your vape juice, and also enjoy a more 'fresh' taste and mouthfeel.
There are a few main factors that can either lengthen or reduce the lifespan of your coils. It mostly comes down on how careful your vaping habits are, and how much attention you pay to your device.
If you take care of your coils, the vaporizer will take care of you as well all the way to the last puff.
How Do I Take Care of My Vape Coils?
Taking care of your vaporizer is not just about reading the user manual and knowing how it operates, but also includes the simple casual things we tend to overlook, most of which we will go over by the end of this article.
How well you take care of your coils is up to how much time you want to put into it. But it's usually worth it - being mindful and taking good care of your vaporizer & coils can end up saving you money, since you won't find yourself needing to replace them as often.
It's important to remember that even if you're using quality parts, you still need to take care of your equipment. High quality vaping gear still needs love and care.
So remember: What makes the biggest impact on your coil lifespan comes down to how often you vape, and how good you are at taking care of the components. The simple law of wear and tear applies. You should not expect to vape all day every day and replace the coils as often as someone who barely vapes once a day.
What Else Affects The Lifespan of Coils?
The e-liquid that you use itself can also affect the lifespan of your coils. For instance, 100% VG E liquids tend to exhaust wicks faster than a VG/PG mix.
How you adjust the voltage to vape with will also contribute to the life of the coils. Higher voltages typically result in a shorter lifespan due to the higher heat, where a lower voltage can get you more time out your coil.
A red flag to look out for is a distinctive gargling sound from the tank while inhaling. This means that the E-juice has made its way to the battery component. If that’s the case you will need to clean up the battery tank and cap while also replacing your coils.
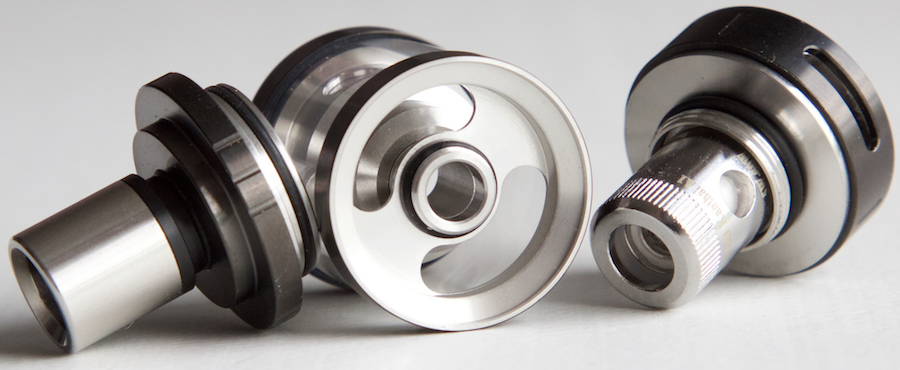
How Do I Replace My Vape Coils?
Replacing the vape coils shouldn’t take but a minute, especially once you get used to the procedure.
Here's how to replace your vape coil:
- Remove the battery and tank cap
- Unscrew the used coils
- Clean up the juice residue inside the tank
- Screw in the new coils
- Place the tank in an upright position and let the coils soak up the E juice for a while
Remember, if you don’t let the coils soak in some vape juice before vaping, the coils will burn while still dry and you will need to replace the new coils again. If this happens to you, don't sweat it - even the most experienced vapers will run into this from time to time if they're not paying attention.
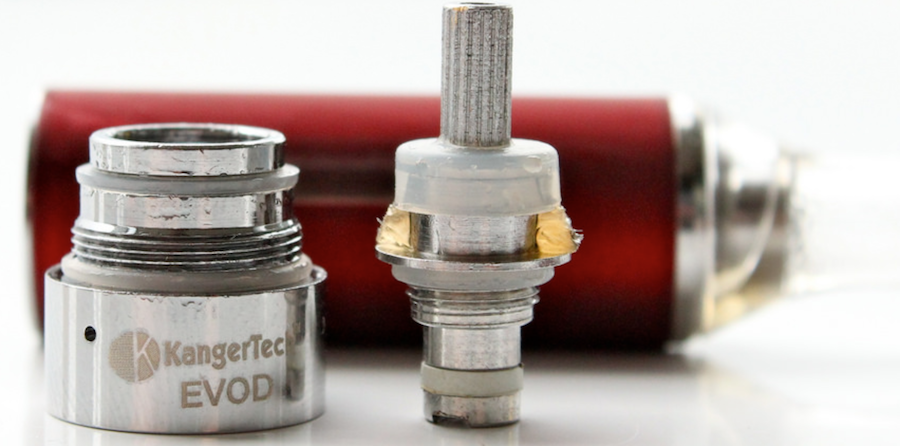
How Do I Clean My Vape Coils?
You'll eventually notice that after continued use, your vape juice flavors will start to change and develop new tastes, all the while becoming undesirable. This is because old e-juice starts to accumulate on the coils, just like soot under a chimney. This is why you need to clean up your vape coils regularly to prevent the flavor changing build-up.
To clean your coils, you will need to do the following:
- Remove juice residue from the coils. You can do this by blowing it off. A hair drier does this perfectly. You can also use your mouth.
- Use running water. Run hot water through the coils to completely clean up the coils off the unburnt juice.
- Dry off the water. Ideally, let the water evaporate, or if you want it to dry faster you can shake it out, or use absorbent material like a piece of soft paper towel.
- You might want to ensure the coils are completely dry before reattaching the coils.
- Reattach the coils to the vaporizer. Press the firing button continuously until the coils are all heated up. You might want to ensure the coils are evenly heated across all the wraps.
- Repeat step five, allowing a five second interval while pressing the firing button. All this is to ensure the coils have heated up and dried off, before adding the E juice back into the tube.
- Reassemble your vape, fill up the tank and enjoy the fresher, cleaner and more satisfying experience.
Getting Replacement Vape Coils
No matter how much cleaning and care you give your coils, they'll eventually need replacing. So if you're in need of a vape coil replacement, well you're in the right place!
Take a look at our top rated vape coils if you're in need of a replacement.
Or if you have any questions, leave a comment below or contact our live chat and we'll be happy to help.
Recent Posts
-

The 9 Best Vape Tanks of 2019 | Online Buyers Guide
We're here with the latest in vape tanks so you can save time in your search for the best one. Se …23rd Jan 2019 -
The Best Sub Ohm Tanks of 2019 | Online Buyers Guide
Sub ohm vaping has become one of the hottest trends in vaping today. Sub-ohm devices offer a rang …21st Jan 2019 -
Best Vape Juice & E-Liquid Flavors Of 2019 | Top Rated Brands
2019 has been a great year so far for vapers everywhere with more new brands and flavors showing u …12th Jan 2019


