
How To Clean Your RDA Coils In 5 Easy Steps
As you use your vape, over time leftover particles from the flavorings in your e-juice will collect on your coil. This will impact the taste and lifespan of your vape, which is why it's important to keep up with keeping it clean.
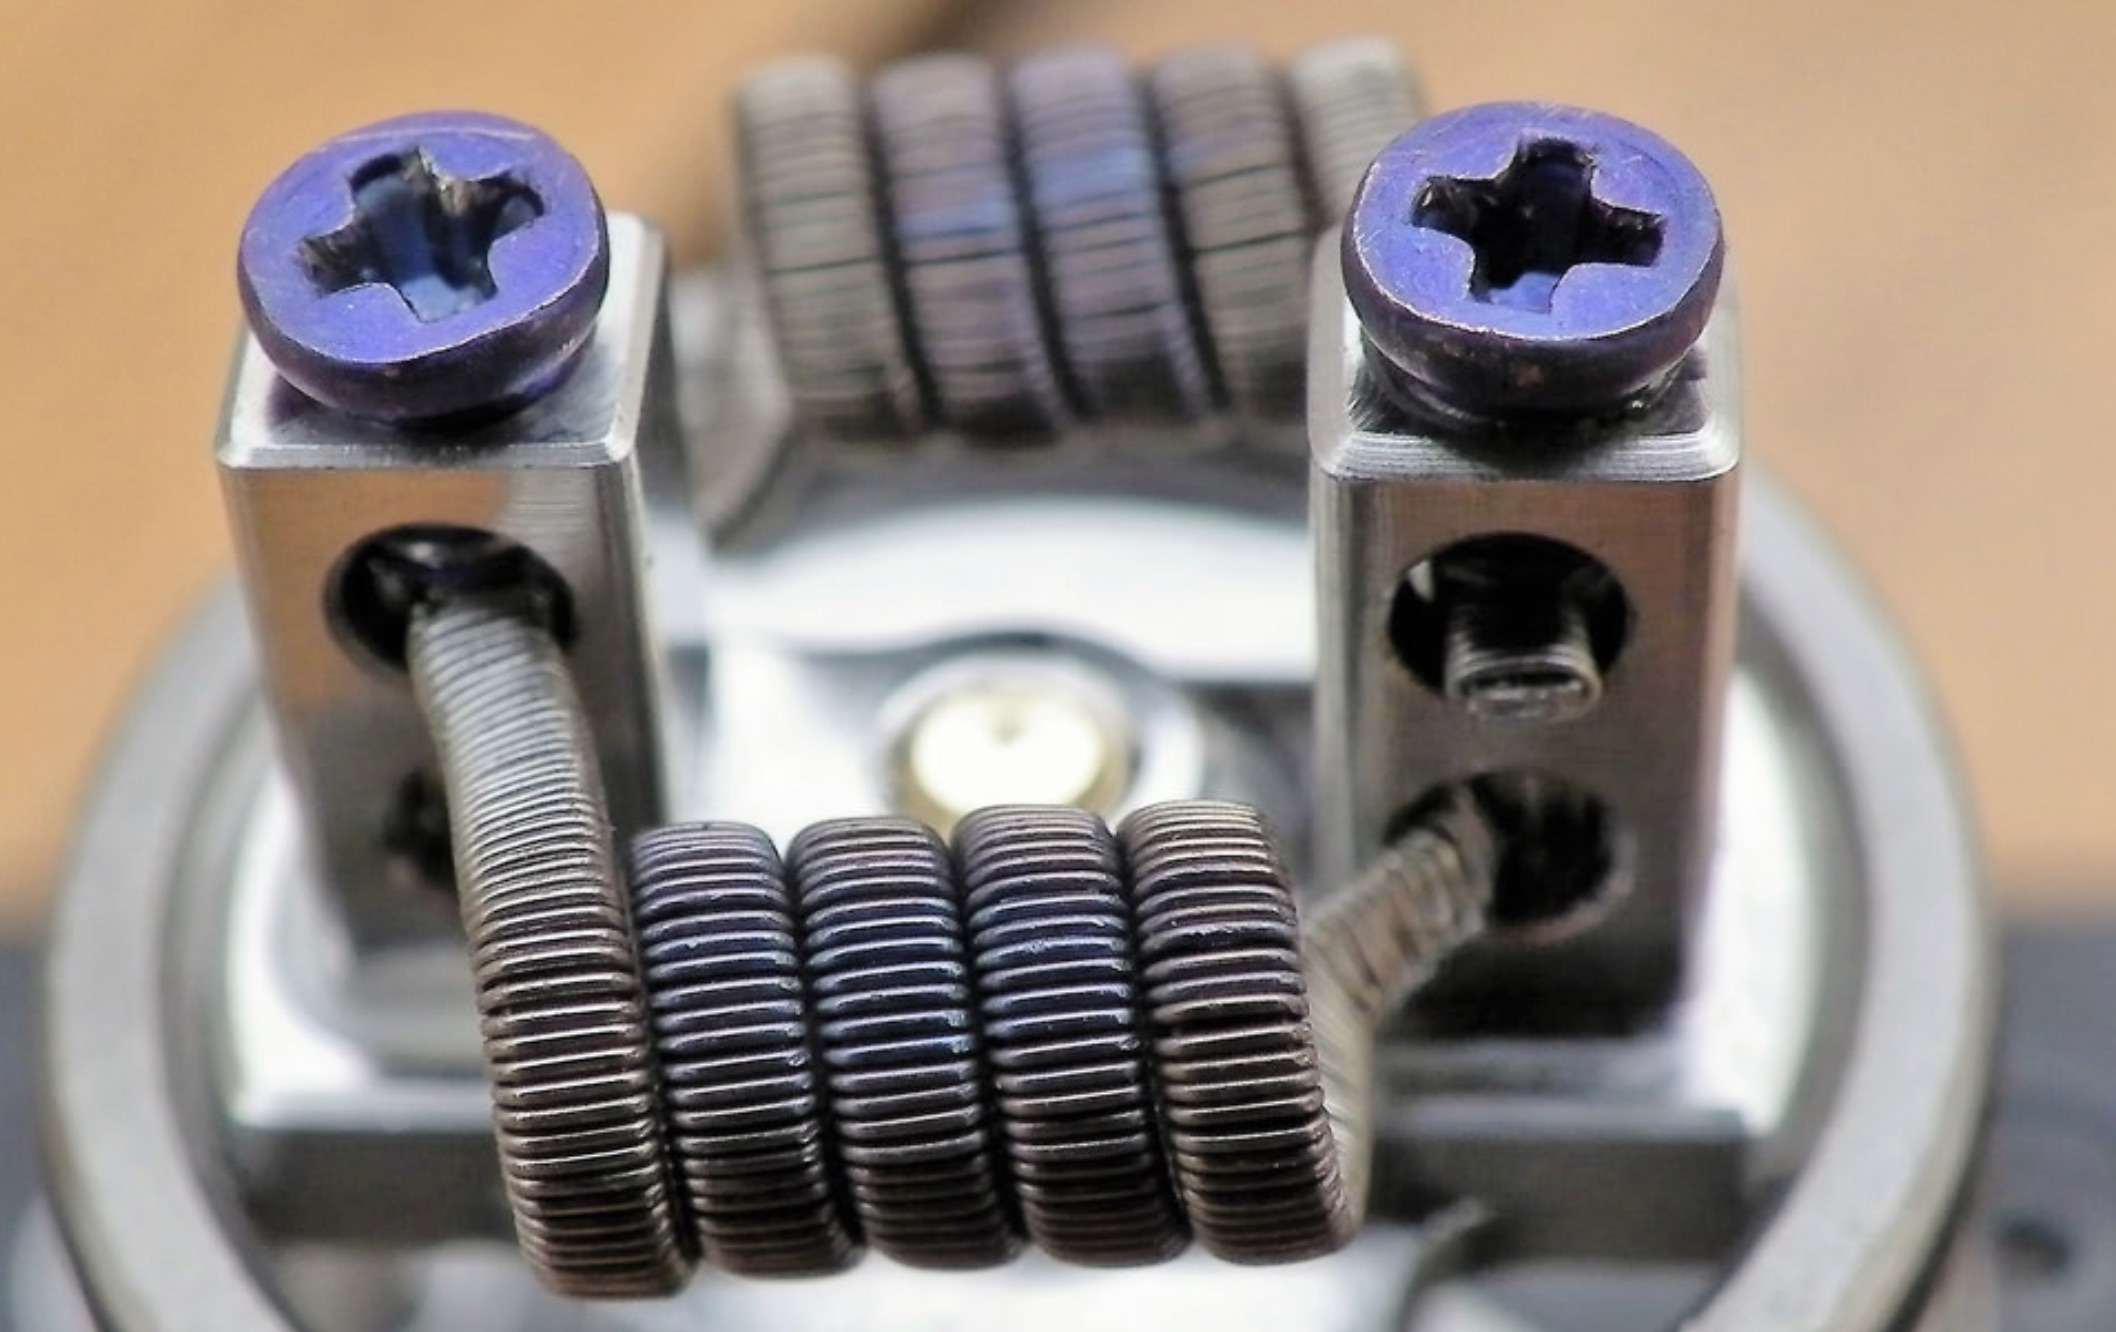
When you buy a new RDA coil, cleaning it properly is also an important step to having a pleasant vaping experience as well. Since they're created through a manufacturing process, there are oils used in the machining, which can have remnants on your coil. As you're using this coil to vaporize liquid and inhale it, you want it to be clean and free of any nasty adultrants before vaping.
If you keep up with maintaining your vape coils and other parts, you're sure to have a happy future of vaping ahead of you. So let's get on with the guide.
When should I clean my RDA coil?
Your atomizer will naturally perform better when its clean instead of being gunked up. So I recommend that you regularly keep it clean as you see any visual gunk forming on the coil, or begin to hear a sizzle (which is the sound of gunk burning on your coil).
Here's what you'll need to clean your coil:
- A bowl of warm/hot water
- Paper Towels
- Your Rebuildable Atomizer
- Dish soap
- E-Juice of your choice
- Items to build your new RDA (Coils, Cotton, Coil Cig, Ceramic Tweezers, Wire Cutters and Screw Driver)
Step 1: Disassemble your RDA
Remove from the packaging and inspect your RDA for any damages. Carefully disassemble your RDA completely and leave the O-rings aside since you don’t need to clean them. It is advisable not to risk cleaning your o-rings since doing so can alter their shape.
Step 2: Wash your RDA
Mix your bowl of warm/hot water with dish soap and put everything inside the bowl. Remember not to put the O-rings in the bowl. Soak the RDA for some time to loosen any residue.
Step 3: Rinse and Dry
Rinse to remove the excess soap from your RDA then dry it with some paper towels.
Step 4: Reassemble and Build
Reassemble your RDA and make sure all the parts are intact. You can now build a clean atomizer.
Step 5: Enjoy!
Soak the cotton up with your favorite e-liquid, screw it into your mod and enjoy yourself.
For the experienced users, you can try out the following technique to clean your RDA:
Simply fire your vape for a couple of seconds to dry burn your coils, then rinse them off with hot water. Keep in mind that you can only dry burn for so long, and eventually you'll need to change your coils after they get too gunked up. So try to change your coils after every 3 or 4 weeks to keep them fresh. This will all depend on the type of e-liquid you use in your device.
How do you clean your RDA and RDA coils? We'd love to hear your techniques and thoughts in the comments below.
Recent Posts
-

The 9 Best Vape Tanks of 2019 | Online Buyers Guide
We're here with the latest in vape tanks so you can save time in your search for the best one. Se …23rd Jan 2019 -
The Best Sub Ohm Tanks of 2019 | Online Buyers Guide
Sub ohm vaping has become one of the hottest trends in vaping today. Sub-ohm devices offer a rang …21st Jan 2019 -
Best Vape Juice & E-Liquid Flavors Of 2019 | Top Rated Brands
2019 has been a great year so far for vapers everywhere with more new brands and flavors showing u …12th Jan 2019


